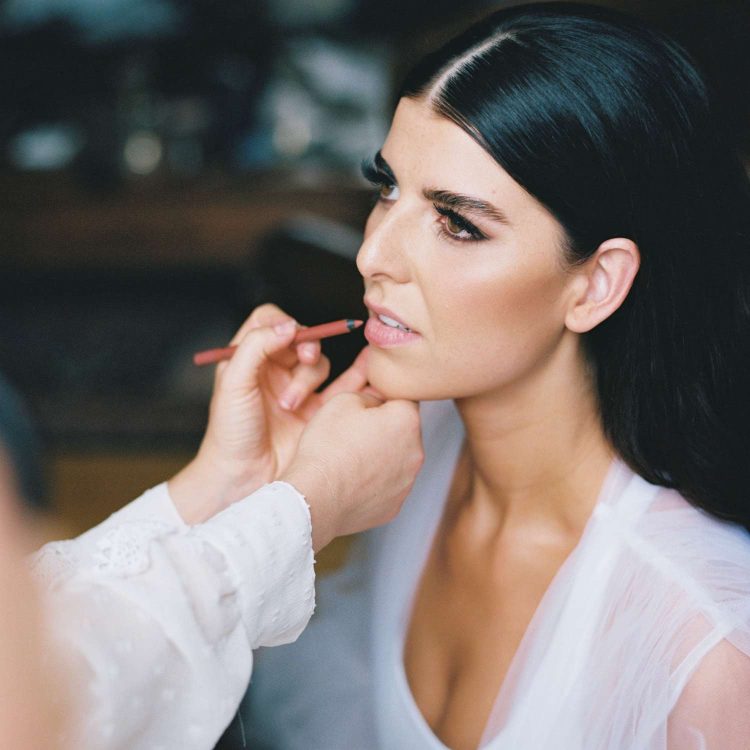
When it comes to creating a sculpted, well-defined look, highlighter and contour are two of the most powerful tools in a makeup artist’s arsenal. They have the ability to transform your face by adding depth, shape, and a radiant glow. While the technique may seem intimidating at first, mastering these two products can give your face a beautifully enhanced structure that looks natural yet glamorous.
In this guide, we’ll explore how to use highlighter and contour to elevate your facial features, and we’ll break down the key steps, tips, and tricks to help you achieve a more defined, sculpted look.
What is Contouring and Highlighting?
Before diving into the how-to, let’s first understand what contouring and highlighting actually do:
- Contouring: Contouring is the process of using darker shades to create shadows on the face, which helps sculpt and define your facial features. By strategically applying contour, you can create the illusion of more defined cheekbones, a slimmer nose, or a sharper jawline.
- Highlighting: Highlighting, on the other hand, involves using lighter, reflective products to accentuate certain areas of the face. This technique brings out the high points of your face, creating a natural, luminous glow that draws attention to specific features.
When used together, contouring and highlighting can create the illusion of a more sculpted, youthful, and radiant face, enhancing your natural bone structure.
Step-by-Step Guide to Contouring and Highlighting
1. Prep Your Skin
Before you start applying any makeup, it’s important to prep your skin to ensure a smooth, flawless finish. Follow these steps:
- Cleanse your face to remove any dirt or oils.
- Moisturize your skin to keep it hydrated.
- Apply a primer to create a smooth base, especially if you have oily or textured skin.
- Apply a foundation that matches your skin tone to create a neutral base. This is the canvas on which you’ll apply the contour and highlight.
2. Contouring: Where to Apply Darker Shades
Contouring uses darker shades to create shadows that sculpt and define. Here’s where to apply contour to enhance your natural bone structure:
- Cheekbones: To create the illusion of higher cheekbones, apply contour along the hollows of your cheeks. Suck in your cheeks to find the natural indentation, and apply the contour just below this area. Blend upward to avoid harsh lines.
- Jawline: To create a more defined jawline, apply contour along the sides of your jaw. This helps create the illusion of a sharper, more sculpted jaw.
- Temples: Applying contour around the temples can help narrow the forehead and give the face a more oval shape. This is especially effective for those with round faces or high foreheads.
- Nose: For a slimmer nose, apply a subtle contour along the sides of your nose, from the bridge to the tip. Be sure to blend well to avoid any harsh lines.
- Chin: If you want to create a more defined chin, apply contour along the sides of your chin and jawline. This can help shorten a longer chin and make your face appear more balanced.
Tips for Contouring:
- Use matte products: Matte contours work best as they mimic the natural shadows of the face.
- Blend, blend, blend: Make sure you blend the contour seamlessly into your skin to avoid any harsh lines.
- Go light-handed: It’s better to build up the contour gradually than to apply too much at once. You can always add more if needed.
3. Highlighting: Where to Apply Lighter Shades
Highlighting involves applying light, reflective shades to bring forward the high points of your face. Here’s where to highlight for maximum impact:
- Top of the Cheekbones: To enhance the cheekbones, apply highlighter just above the contour, along the top of your cheekbones. This brings attention to this area, making your cheekbones appear higher and more prominent.
- Bridge of the Nose: Apply a small amount of highlighter down the bridge of your nose. This helps make the nose look slimmer and more defined.
- Cupid’s Bow: To accentuate your lips, apply highlighter on your cupid’s bow (the top center of your lips). This creates the illusion of fuller lips.
- Center of the Forehead: Apply a subtle highlight in the center of your forehead to create a more luminous look. This is especially effective for creating a radiant, dewy finish.
- Under the Brow Bone: Apply highlighter just under your brow bone to lift and define your eyebrows. This draws attention to your eyes and enhances their shape.
- Center of the Chin: Highlighting the center of the chin can also help create a balanced, well-proportioned face.
Tips for Highlighting:
- Choose a shade that complements your skin tone: A highlighter that’s too light may look unnatural, while a shade that’s too dark won’t give you the luminous effect you’re after. Choose a shade that’s just a few tones lighter than your skin for the most natural look.
- Use a fine, reflective finish: Opt for highlighters with a fine shimmer or satin finish rather than chunky glitter. This gives you a soft, radiant glow.

4. Blending: The Key to a Natural Look
Blending is the most important step when it comes to contouring and highlighting. If you don’t blend properly, your makeup can look harsh or uneven.
- Use the right tools: A makeup sponge or a stippling brush is perfect for blending contour and highlight. The sponge can help press the product into the skin for a seamless finish, while a brush can offer more control for precise blending.
- Start with the contour: Blend the contour in small, circular motions. Focus on blending the product upwards, as this creates a lifted effect.
- Blend the highlighter: Highlighter should also be blended lightly into the skin. You don’t want it to look streaky or blotchy, so make sure it seamlessly integrates with your foundation.
- Check for balance: Step back and take a look at your face in natural light. Ensure that the contour and highlight are balanced and that there are no harsh lines.
5. Final Touches
Once your contour and highlight are applied and blended, finish your makeup by setting everything in place:
- Setting Powder: Apply a light dusting of translucent setting powder to prevent any shine and ensure your makeup lasts longer.
- Blush: Add a touch of blush to the apples of your cheeks for a healthy flush. This also helps blend the contour and highlight together for a more natural look.
- Setting Spray: Finish with a setting spray to lock in your makeup and give your face a dewy, glowing finish.
Tips for Different Face Shapes
Contouring and highlighting techniques can vary slightly depending on your face shape. Here are some adjustments for different face shapes:
- Round Face: Apply contour on the sides of the face and under the chin to elongate the appearance of the face. Highlighting the center of the forehead and chin helps balance the look.
- Square Face: Soften the angular lines of the jaw and forehead by applying contour along the temples and under the cheekbones. Highlighting the tops of the cheekbones and the center of the forehead adds more dimension.
- Oval Face: Oval faces generally need minimal contouring. Focus on lightly contouring the cheekbones and jawline, and add highlight to the high points to emphasize your natural structure.
- Heart-Shaped Face: Contour around the jawline and forehead to soften the angles of the face. Highlight the cheekbones to bring attention to the upper part of the face.
Conclusion
Contouring and highlighting are essential techniques for adding depth, definition, and radiance to your face. By strategically applying darker shades to create shadows and lighter shades to accentuate high points, you can sculpt your face to look more dimensional and balanced. The key to mastering these techniques is blending—use the right tools and products, and always remember that less is more. With practice, you’ll be able to enhance your facial features naturally and effortlessly.


