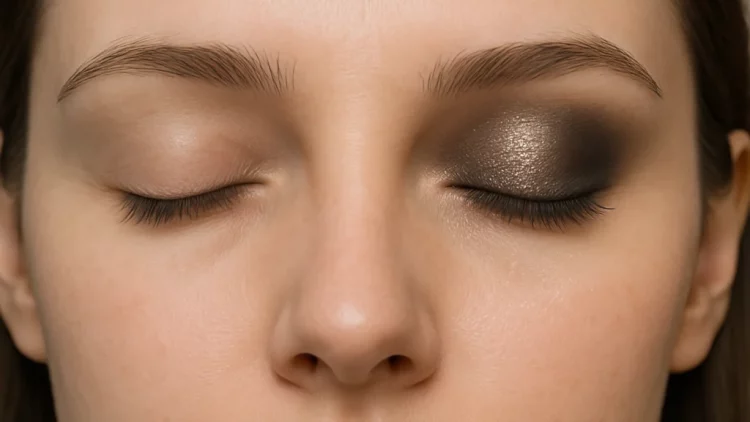
Blending eyeshadow might seem like a basic step in your makeup routine, but it’s actually an art form. A seamless blend can make the difference between a stunning eye look and one that feels harsh or unpolished. Whether you’re aiming for a dramatic smoky eye or a soft, everyday look, mastering the technique of blending is essential. In this article, we’ll break down the best methods for blending eyeshadow to achieve a flawless, seamless finish. We’ll also discuss the tools, tips, and tricks that professionals use to ensure every eyeshadow look is picture-perfect.
1. Start with a Smooth Base
Before blending, the key is to create a smooth, even base. This ensures that your eyeshadow applies evenly and blends effortlessly.
Prime Your Lids
Eyeshadow primer is non-negotiable for a long-lasting look. It not only prevents creasing but also creates a blank canvas for your eyeshadow. A primer will make the colors pop and help them adhere to your lids better, resulting in more seamless blending.
Set the Base
After applying your primer, lightly dust your eyelids with a translucent setting powder or a neutral eyeshadow shade that matches your skin tone. This step gives your eyeshadow something to adhere to, preventing it from patching or skipping.
2. Choose the Right Tools
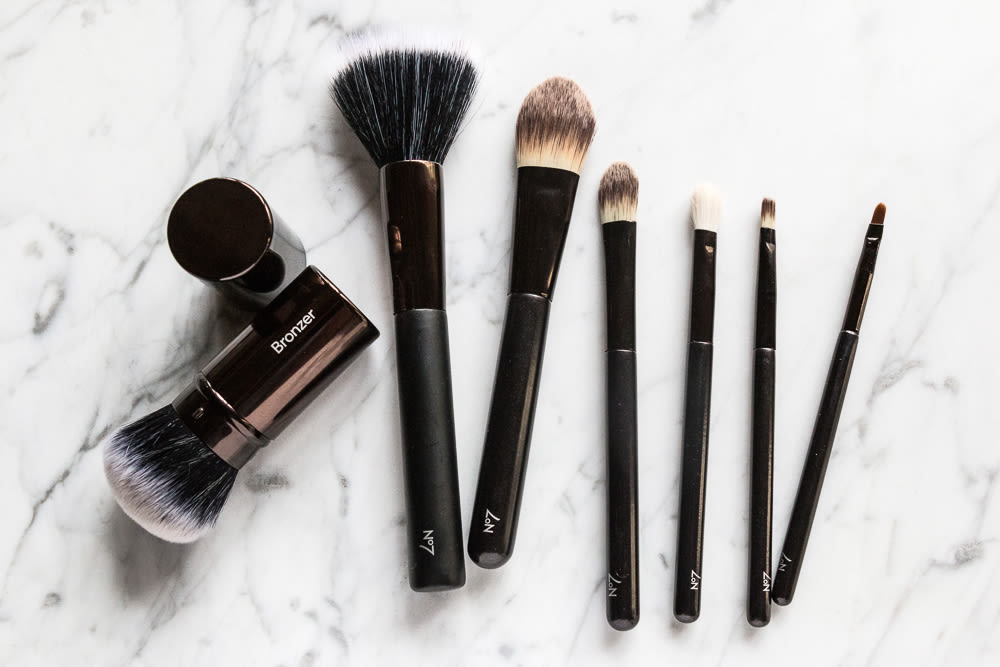
The tools you use can make or break your eyeshadow blending. Quality brushes and tools designed for blending are essential for a smooth, flawless look. Here are the key brushes you’ll need:
Fluffy Blending Brush
.JPG)
A soft, dense fluffy blending brush is the holy grail of blending. It allows you to diffuse and buff out eyeshadows effortlessly, creating a soft, seamless gradient.
Flat Eyeshadow Brush
A flat brush is ideal for packing on color to your lid. It provides concentrated pigment, which you can then blend out with your fluffy brush.
Pencil Brush
A small, tapered pencil brush works well for blending out smaller areas or details, like your crease or the outer V of your eyes.
3. Layer, Don’t Pile
One of the most common mistakes when blending eyeshadow is trying to build up the color all at once. The key is to layer.
Start Light
Begin with a light hand. Apply a small amount of eyeshadow to your lid, and gradually build it up. This prevents the shadow from looking too heavy and ensures you have control over the color intensity.
Blending in Layers
Once you’ve applied the first layer, use your fluffy brush to gently blend out the edges. Work in light, circular motions or windshield-wiper movements, depending on the shape you’re trying to create.
4. Work in the Right Order
Applying and blending eyeshadows in the right order is just as important as the blending technique itself. Here’s the most common order to follow for a seamless finish:
1. Transition Shade
The first step is to apply a transition shade—this is a medium-toned matte color. Use a fluffy brush to blend this shade into your crease to create depth. The transition shade helps to bridge the gap between the highlight and deeper colors, ensuring a smooth transition.
2. Lid Shade
Next, apply a lid color to the mobile part of your eyelid using a flat eyeshadow brush. This is the most intense color you’ll apply, so pack it on gently and then blend the edges using a fluffy brush.
3. Crease and Outer V
Now, add depth to the crease and outer corner with a deeper shade. A darker, matte shadow works well for this. Focus on blending it out into the crease and slightly upward, but make sure not to go too high, or it could look harsh.
4. Highlight
Finally, apply a light, shimmery shade to the inner corners of your eyes and the brow bone to lift and brighten the eyes. Blend the highlight into the rest of your eyeshadow for a cohesive finish.
5. Blending Techniques That Work
Different blending techniques can create different effects. Here are some of the most popular ones:
Circular Motions
When blending out your eyeshadow, use soft, circular motions. This helps the product to diffuse without harsh lines, giving a soft, airbrushed effect.
Windshield Wiper Motions
For blending in the crease, use windshield wiper motions (back and forth). This is especially effective for transitioning between different shades or softening a dark crease color.
Tapping, Not Rubbing
When applying color to the lid, tap the eyeshadow onto your lid rather than rubbing. This prevents fallout and ensures the color stays intense. Once you’ve placed the color, blend the edges gently with a fluffy brush.
The “Halo” Method
For a more dramatic look, you can create a halo effect by placing the lightest shade in the center of your lid and darker shades along the outer and inner corners. This gives a rounded, dimensional effect and draws attention to the center of the eyes.
6. Don’t Overdo It
The biggest mistake many people make is over-blending. While blending is crucial, over-blending can cause the colors to fade or muddy together. If you over-blend, you may lose the definition of your crease or lid color. Here’s how to avoid it:
- Take breaks while blending: Step back and assess the look after blending for a few seconds. If needed, you can always add more product and blend again.
- Know when to stop: Once the edges are diffused and the colors have transitioned smoothly, stop blending. Trust the process!
7. Clean Up the Edges
To finish off your look, make sure the edges are clean and crisp. You can use a makeup wipe or a small brush dipped in makeup remover to clean up the outer edges of your eyeshadow for a sharp, defined look.
8. Set the Look
Once you’re happy with your eyeshadow, set it in place with a makeup setting spray. This will lock the eyeshadow in place, ensuring it lasts throughout the day. You can also lightly dust a setting powder along your lash line to prevent any smudging.
9. Pro Tips for Flawless Blending
- Use Tape or a Card: For sharp edges or a defined cat-eye look, you can use tape or a card along the edge of your eyelid to create a straight line.
- Mix Shadows for Custom Shades: Don’t be afraid to mix different shades to create your custom eyeshadow hues. This will give your eyes a unique, personalized look.
- Blend with Your Fingers: Sometimes, using your fingers can help blend out shadows, especially shimmers. The heat from your finger helps to melt the product into the skin.
10. Common Mistakes to Avoid
Even the most seasoned makeup enthusiasts can make mistakes while blending. Here are some common pitfalls to watch out for:
1. Using the Wrong Brushes
Using brushes that are too stiff or dense can make blending more difficult. Always choose soft, fluffy brushes for smooth transitions.
2. Skipping the Transition Shade
Not using a transition shade is a major mistake. It’s the key to blending shadows smoothly without creating harsh lines.
3. Applying Too Much Product
Start small and build up. Applying too much product at once can make blending nearly impossible.
4. Forgetting to Blend the Lower Lash Line
The lower lash line is just as important as the top lid. Don’t forget to blend a little eyeshadow along your lower lash line to balance the look.
11. Final Thoughts
Mastering the art of blending eyeshadow takes practice, but once you get the hang of it, it will completely elevate your makeup game. A well-blended eyeshadow look will add dimension, smoothness, and vibrancy to your eyes, making all the difference in how your makeup looks overall.
Remember, blending is not about rushing through it; it’s about patience, layering, and using the right tools and techniques. With a little practice and these tips, you’ll be blending like a pro in no time.


