


Winged eyeliner: it’s a beauty classic, a bold statement, and for many, a makeup struggle. The quest to get both sides perfectly symmetrical, with the right amount of drama and finesse, can feel like an impossible mission. But here’s the truth: with the right technique, tools, and a little practice, anyone can master the winged liner. Whether you’re a seasoned makeup enthusiast or a beginner, this article will help you navigate the art of the perfect wing.
Understanding the Basics: What is Winged Eyeliner?
Winged eyeliner is a sharp, elongated flick of eyeliner that extends from the upper lash line towards the outer corner of the eye. This design adds definition and a cat-eye effect, making the eyes appear larger and more lifted. The key to a perfect wing is balance: symmetry, precision, and a clean line that elongates the shape of the eye without being too harsh or messy.
Step 1: Start With the Right Tools
Before diving into the technique, it’s essential to use the right tools. The brush or applicator you choose can make or break your winged eyeliner look. Here’s what you need:
- Liquid Eyeliner: Perfect for sharp lines and a crisp wing. The applicator is usually a fine-tipped brush or felt tip, providing control for precision.
- Gel Eyeliner: Ideal for a softer look, but it can be tricky to perfect without practice. It’s best used with an angled brush to create a winged effect.
- Pencil Eyeliner: While not the best for ultra-precise lines, a pencil can give a smudged, smoky wing that’s more casual and less defined.
- Angled Brush: If you’re using gel liner, an angled brush is essential for creating clean, precise lines.
- Tape or Stencils: This is for beginners. Using a small piece of tape along your lash line can help you achieve a more defined wing with minimal mess.
Step 2: Prep Your Eyes
Starting with clean, primed eyelids will ensure that your winged eyeliner lasts all day (or night). Here’s how to prepare:

- Eye Primer: Apply a thin layer of eye primer to the eyelid. This helps the eyeliner adhere better and prevents smudging.
- Concealer: If you have dark circles or uneven skin tone around your eyes, apply a bit of concealer to create a smooth canvas.
- Set With Powder: After applying primer or concealer, lightly dust your eyelids with translucent powder to set everything in place.
Step 3: Find Your Wing Shape
The shape of your winged eyeliner can vary depending on your eye shape and the look you’re going for. Here are some classic options:
- Classic Wing: A straightforward, sleek line that extends slightly beyond the outer corner of the eye. Ideal for everyday wear or when you want a bit of drama without going overboard.
- Cat Eye: A more dramatic, angled wing that lifts at the outer corner of the eye. This shape elongates the eyes and gives a striking look.
- Flicked Liner: A subtle flick at the outer corner of the eye, perfect for those who want a natural, minimalist wing.
- Double Wing: This involves creating two parallel wings on the outer corner for a bold, fashion-forward look.
- Swooping Wing: A longer, curved line that swoops upward. This look is for those who want to elongate the eye for an elegant, almost retro feel.
The key is to find the wing shape that complements your natural eye shape and the look you’re going for. A common mistake is trying to create a dramatic wing on smaller eyes; sometimes, a more subtle flick works better.
Step 4: Create the Wing
Now for the fun part! Follow these steps to create the perfect winged liner:
- Start at the Outer Corner: Begin by applying eyeliner at the outer corner of the upper lash line. Draw a line in the direction of where you want the wing to point. Typically, this is slightly upwards, towards the end of your eyebrow.
- Create a Small Guideline: Extend the line gradually. You don’t need to rush. If you want to use tape as a guide, angle the tape at a 45-degree angle from your lower lash line toward your brow.
- Connect the Wing: Once you’ve got the basic wing shape, draw a line from the tip of the wing to the middle of your upper lash line. Fill in any gaps to create a smooth, continuous line.
- Perfect the Shape: If you’ve made any mistakes, don’t panic. Use a cotton swab dipped in makeup remover to clean up the lines and ensure symmetry.
Step 5: The Symmetry Challenge
Perfecting the winged eyeliner often feels like a battle against unevenness. Here’s how to ensure symmetry between both eyes:
- Use the Same Technique on Both Eyes: Start on one eye, complete the wing, and then move to the other. If you create both wings at the same time, they’ll often end up slightly different.
- Use Your Lower Lash Line as a Guide: For a balanced wing, imagine an extension of your lower lash line pointing upwards. This is a great starting point to ensure the two wings point in the same direction.
- Match Your Wing Angles: Check that both wings are angled similarly. If one wing is too high or too low, adjust accordingly.
Step 6: Fixing Mistakes
Don’t worry—perfection doesn’t come overnight. If your wings aren’t quite right, here’s how to fix them:
- Use Micellar Water: Dampen a cotton bud or makeup remover cloth with micellar water and gently clean up any uneven areas. Don’t rub too hard or you might smudge the eyeliner.
- Thicken or Soften: If your wing is too thin, simply add a bit more product to the outer edge. Conversely, if it’s too thick, use a clean cotton swab to wipe away excess liner.
- Fill in Gaps: Sometimes, the eyeliner can appear uneven due to gaps in the lash line. Use a fine-tipped eyeliner to carefully fill in any empty spots.
- Embrace Imperfection: If the wings aren’t perfectly identical, that’s okay! Makeup is about enhancing your features, not creating absolute symmetry. A little variation can even add character to the look.
Step 7: Set Your Liner
To ensure your winged eyeliner stays intact all day (or night), here’s a pro tip: set it with eyeshadow. Take a dark eyeshadow shade (black or brown) and lightly press it over the eyeliner. This will lock it in place and make the color more intense.
Step 8: Finish With Mascara and Lashes
The final step in perfecting your winged eyeliner look is adding mascara. This helps lift and define your lashes, completing the dramatic effect of the eyeliner.
For an even bolder look, consider applying false eyelashes or individual lashes to enhance the cat-eye effect further.
Pro Tips for the Perfect Wing Every Time
- Practice Makes Perfect: It may take a few tries to get your technique just right. Keep practicing—soon, you’ll be able to whip out a perfect wing without hesitation.
- Don’t Overthink It: While symmetry is important, sometimes the best look comes from a little asymmetry. Play around with different wing shapes until you find one you love.
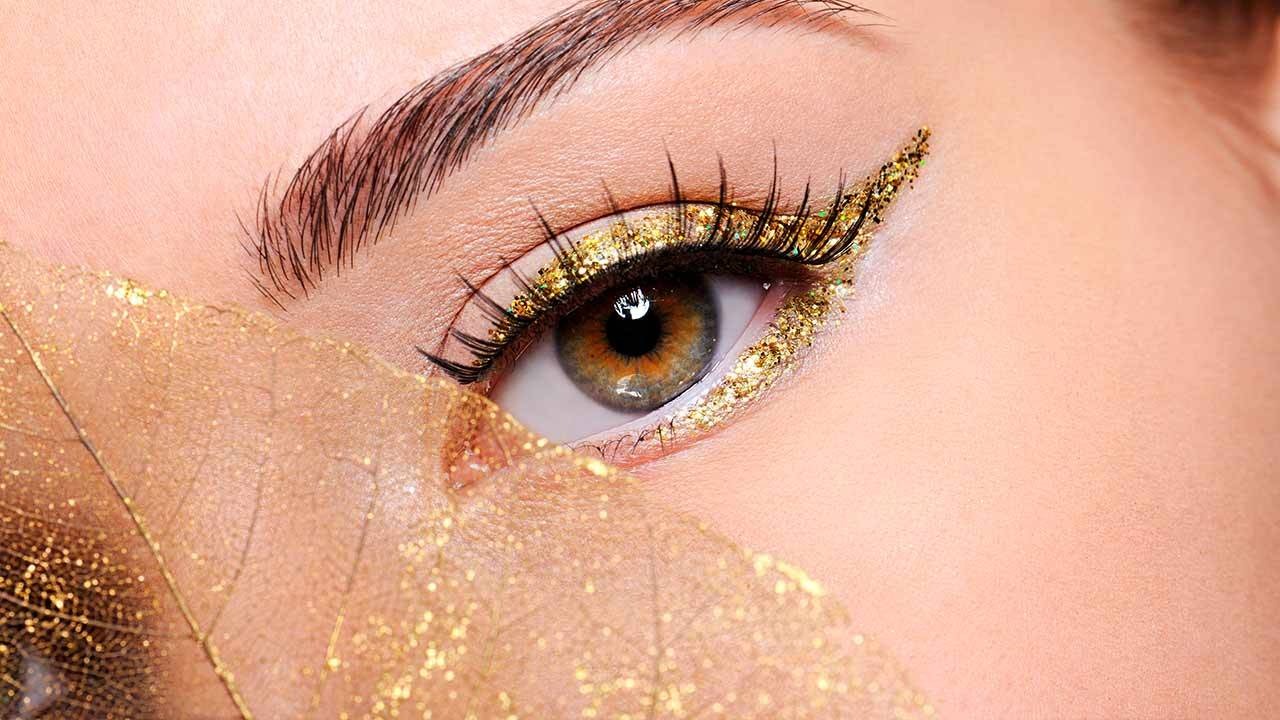
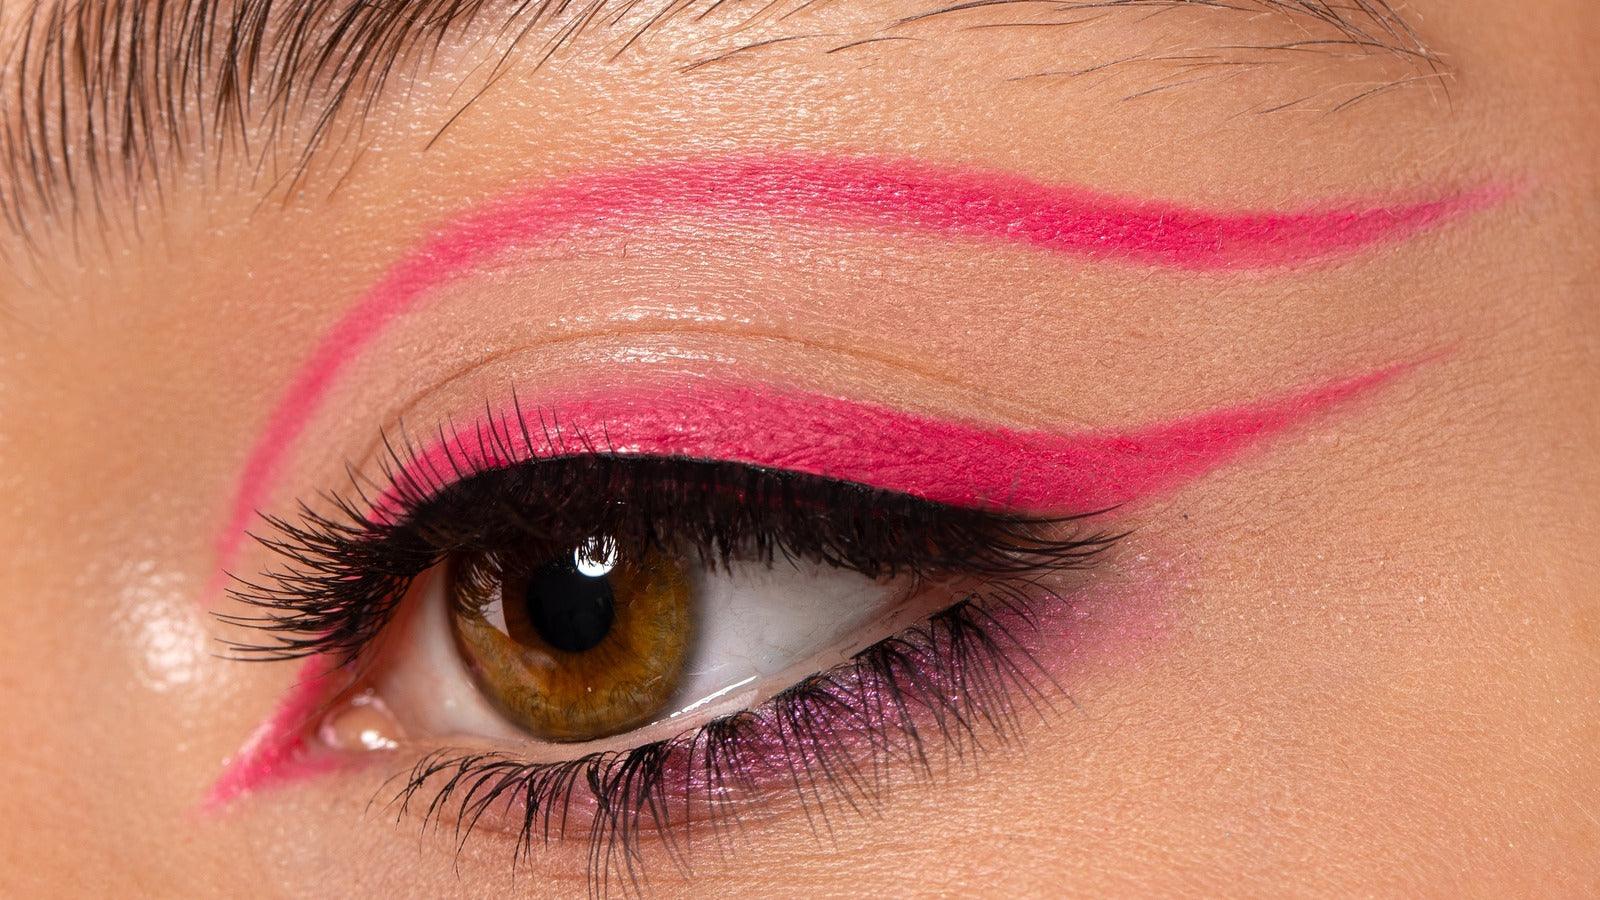
- Experiment With Colors: Don’t limit yourself to black eyeliner. Experiment with colors like navy, emerald, or even metallics for a fresh take on the classic winged liner.
- Choose the Right Eyeliner for Your Skin Type: If you have oily skin, opt for a waterproof eyeliner to prevent smudging throughout the day. For dry skin, gel or pencil liners are great choices.
- Use a Guide: If you’re just starting out, you can use a business card or piece of tape to guide your wing. This makes the process cleaner and helps you avoid mistakes.
Conclusion: Your Perfect Wing Awaits
Mastering winged eyeliner is all about technique, tools, and practice. The more you practice, the more intuitive the process will become. Remember, makeup is a form of self-expression, so don’t stress if every wing isn’t perfect. Embrace the quirks and have fun with it!
The key to a flawless winged liner is patience, symmetry, and confidence. With the right techniques, you’ll be able to create a wing that suits your face and makes your eyes pop—every time.


