


Scroll through any social media beauty platform, and you’ll likely see a mesmerizing, almost artistic display: faces dotted with green, peach, lavender, and yellow creams before being blended into a seamless, perfect base. This is the world of color correcting, a technique that can seem intimidating and unnecessary to the everyday makeup user. The common misconception is that it’s a complicated extra step reserved for professional makeup artists. However, when understood and applied correctly, color correcting is not a complication; it’s a simplification. It is the most effective way to neutralize skin discolorations that your foundation and concealer alone cannot fully cover, allowing you to use less product and achieve a more natural, skin-like finish. This beginner’s guide will demystify the process, breaking down the essential principles of undertones, the color wheel theory, application techniques, and common pitfalls, empowering you to use this powerful tool to address your specific skin concerns.
The Foundation of All Color: Understanding Your Undertones
Before you even look at a color corrector, it’s crucial to understand the concept of undertones. Your skin’s undertone is the subtle, permanent color that lies beneath the surface skin tone (your fair, light, medium, tan, deep complexion). There are three main categories:
- Cool (Pink, Red, or Blue Undertones): Your skin has hints of pink, red, or blue. The veins on your wrist likely look blue or purple. You tend to look better in silver jewelry.
- Warm (Yellow, Golden, or Peach Undertones): Your skin has hints of yellow, gold, or peach. The veins on your wrist appear greenish. You tend to look better in gold jewelry.
- Neutral (A Mix of Warm and Cool): Your skin has a balance of both warm and cool undertones, or your undertone may be the same as your surface skin tone. Both silver and gold jewelry likely look good on you.
Why This Matters for Color Correcting:
Understanding your undertone helps you choose the right shade of foundation and concealer, which in turn informs what you need to correct. For instance, someone with a cool undertone might have more pronounced redness, while someone with a warm undertone might struggle with sallowness. Your corrector should neutralize the discoloration, not your natural undertone.
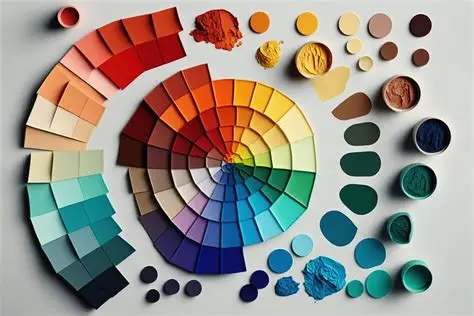
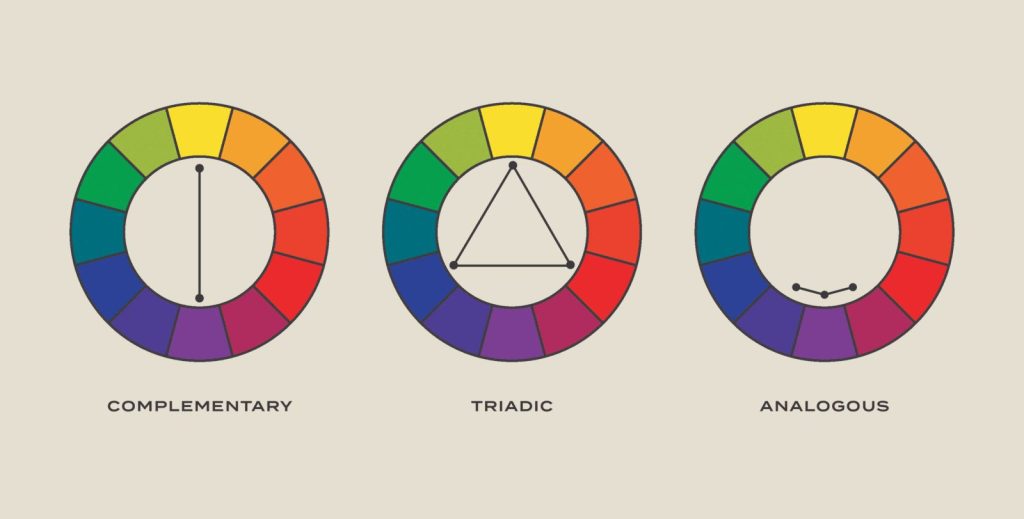
The Color Wheel Theory: Your Map to Neutralization
Color correcting is based on a simple, scientific principle: the color wheel. Colors that sit directly opposite each other on the wheel neutralize one another. This is why you don’t use a skin-toned concealer to cover a blue bruise; you would need endless layers. Instead, you use its opposite color to cancel it out first.
Here is a breakdown of the most common corrector colors and their uses:
- Green Corrector
- Neutralizes: Redness
- Use For: General facial redness, rosacea, irritated acne pimples, red post-acne marks, and broken capillaries.
- Application: Apply a small amount of green corrector only to the reddened areas, not all over the face.
- Peach / Orange Corrector
- Neutralizes: Blue and Purple tones
- Use For: Dark circles under the eyes (which are often blue-purple), bruising. The shade you need depends on your skin tone. Light to Medium skin tones should use Peach. Medium to Deep skin tones require a stronger Orange or Salmon shade to effectively cancel out the deeper pigmentation.
- Application: Apply in a triangular pattern under the eyes, focusing on the inner corner where darkness is often most concentrated.
- Lavender / Purple Corrector
- Neutralizes: Yellow and Sallow tones
- Use For: Dull, sallow complexion, yellow-toned bruises, and neutralizing excessive yellowness in some foundations. It is also excellent for brightening the complexion.
- Application: Use sparingly on areas of sallowness, like around the mouth, or mix a tiny amount with your primer for an all-over brightening effect.
- Yellow Corrector
- Neutralizes: Purple and Blue tones, and mild redness.
- Use For: Covering mild purple-toned dark circles (for light skin tones), neutralizing purple veins, and toning down the intensity of purple bruises. It can also be used to set corrector areas before foundation.
- Application: Apply under the eyes or on areas with purple discoloration.
- Pink / Red Corrector
- Neutralizes: Green, Brown, and Dark tones
- Use For: This is primarily for very deep skin tones to correct dark circles and hyperpigmentation that have a deep brown or ashy tone. Pink works for medium-deep tones, while a true Red or Coral is needed for deeper complexions. It can also be used to cover green-toned bruises.
- Application: Under the eyes and on any areas of deep, dark hyperpigmentation.
Application Technique: The Art of Sheer, Strategic Layering
The biggest mistake in color correcting is applying too much product. The goal is a whisper of color, not a bold paint job.
- Prep is Paramount: Start with a moisturized, primed face. A hydrated base ensures the corrector blends smoothly and doesn’t cling to dry patches.
- Less is More: Use a tiny amount of product. You can always build, but it’s difficult to remove. For creams, use a small, precise brush (like a detailer brush or a small concealer brush). For liquid correctors, a dot the size of a pinhead is often enough for one area.
- The Correct Order of Operations: The sequence is critical for a natural finish.
- Step 1: Color Corrector. Apply only your correctors to the specific areas of discoloration.
- Step 2: Foundation. Apply your foundation over the correctors, using a stippling or pressing motion with a sponge or brush. Avoid swiping, which can move the corrector around.
- Step 3: Concealer. If any discoloration still peeks through (which is common under the eyes), apply a skin-tone concealer only where needed.
- Blending is Key: After applying each corrector color, gently pat it into the skin with your fingertip or a small brush to ensure it’s seamlessly blended at the edges. There should be no stark lines of color.
Common Mistakes and How to Avoid Them
Even with the right colors, technique can make or break the result.
- Using Too Much Product: This is the #1 mistake. Heavy corrector creates a thick, cakey layer that is difficult to cover with foundation and will likely crease and look obvious. Solution: Start with a minuscule amount and build only if absolutely necessary.
- Applying Corrector All Over the Face: Green corrector is not a green-tinted primer. Applying it all over your face will result in a gray, ashy cast. Solution: Be a sniper, not a shotgun. Target only the specific discoloration.
- Choosing the Wrong Formula: If you have dry skin and use a thick, dry cream corrector, it will crack and emphasize texture. If you have oily skin and use a liquid, it may not have enough staying power. Solution: Match the formula to your skin type. Creams are great for dry skin and offer more coverage; liquids are better for oily skin and offer a more natural finish.
- Swiping Instead of Pressing: When you apply foundation over your corrector, a buffing or swiping motion will sheer out the corrector and move it around, rendering it useless. Solution: Use a damp beauty sponge or a dense brush to press and stipple your foundation into the skin. This layers the product without disturbing the layer beneath.
- Skipping the Skin-Tone Concealer: Correctors neutralize color, but they don’t always match your skin tone. A grayish-green area where you corrected redness still needs to be blended into the rest of your complexion. Solution: Always follow corrector with foundation and/or a skin-tone concealer to reintegrate the area.
Conclusion: Your New Tool for a Customized Base
Color correcting is not about adding a complicated, unnecessary step to your routine. It is a strategic, problem-solving technique that empowers you to address your unique skin concerns with precision. By understanding the basic theory of the color wheel and applying it with a light, targeted hand, you can effectively neutralize discolorations that have always been difficult to cover. This allows you to wear less foundation and concealer overall, resulting in a finish that is more natural, less cakey, and truly skin-like. Embrace color correcting not as a trend, but as a fundamental tool in your makeup arsenal—one that provides the flawless, filter-free finish you’ve been searching for, all through the intelligent power of color.


