For makeup beginners, mastering the art of eye makeup can be a daunting task. However, with simple techniques, you too can create a stunning, wide-eyed look that feels as if you’re wearing no makeup at all. This guide will walk you through the essential steps for achieving a youthful and natural appearance, making your eyes appear larger and more awake.
Choosing the Right Eyeshadow Palette
One common mistake novices make is selecting earth-toned eyeshadow palettes that promise effortless application, only to find the results lackluster. The key to avoiding this pitfall is to choose palettes based on your skin tone, focusing on shades with minimal color variance. Here’s how to select the perfect palette:
- Find Your Base Color
Start by selecting an eyeshadow shade that closely matches your skin tone. This will serve as the foundation for your look, making it easier to avoid any muddy appearances. This chosen shade is referred to as “Level 3.” - Select Complementary Lighter Shades
Once you have your Level 3 shade, identify a color one shade lighter to designate as “Level 2,” and another two shades lighter classified as “Level 1.” If you struggle to find these shades within the palette, it may have too wide a color range, making it unsuitable for beginners. - Identify Your Darker Shades
After establishing your lighter shades, it’s time to find darker tones. Choose one shade darker than your Level 3 as “Level 4,” and two shades darker as “Level 5.” Again, if these shades are unavailable, look for another palette with a more suitable spectrum.
This approach ensures a beautiful gradient effect that feels natural and avoids any jumble of colors that can make your eyes appear heavy.
Step-by-Step Application
Step 1: Set the Base with Level 1
Begin by using your Level 1 shade all over your eyelids and under the eyes. This will help counteract any darkness around the eyes and provide a clean canvas for the subsequent colors. The lightness of this shade will brighten your eyes, ensuring a fresh look.
Step 2: Divide the Eyelid into Three Zones
For optimal application, divide your eyelid into three sections: A, B, and C.
- Zone A: From the lash line to the crease (the line where your eyelid folds).
- Zone B: The remainders of the crease to half the distance to the brow bone.
- Zone C: The area from the midpoint to the brow bone.
Using the shade hierarchy established earlier, apply:
- Zone A: Level 5
- Zone B: Level 4
- Zone C: Level 3
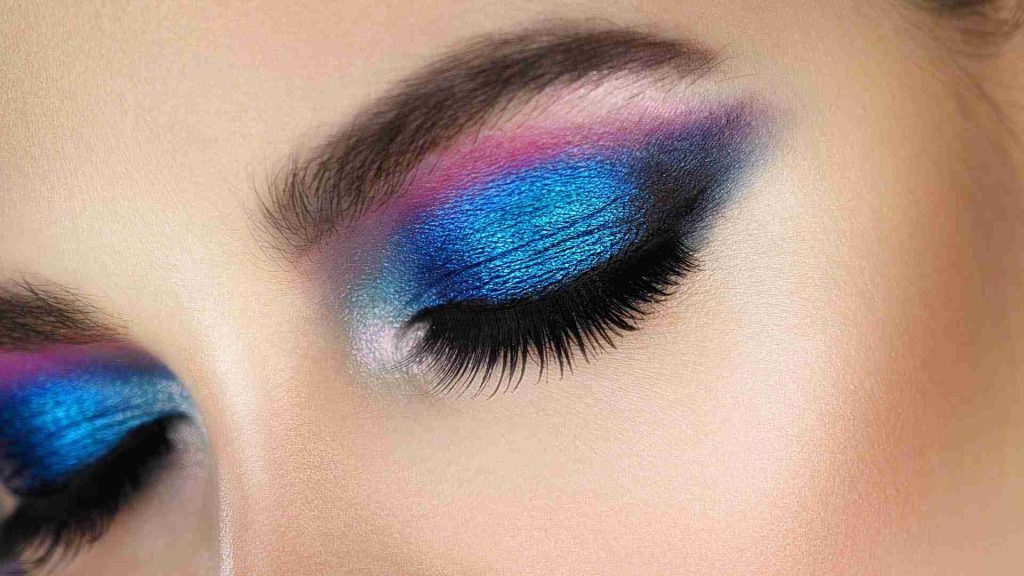
This gradient application will create a beautifully blended effect, naturally enlarging your eyes and softening any puffiness.
Step 3: Highlight the Under Eye Area
Enhancing the under-eye area creates the illusion of larger eyes. Use the Level 5 color to define the lower lash line, creating subtle depth. Don’t forget to apply a touch of shimmer in the center of the lower lash line to brighten your eyes further.
Step 4: Master the Perfect Mascara Application
For added impact, curl your lashes while looking towards your inner eye. This technique lifts both the inner and outer lashes effectively. Apply several coats at the lash base to achieve a lush, voluminous look while maintaining a lighter touch towards the tips.
Step 5: Finishing Touches
For an added pop, consider a touch of inner corner highlight to further open up your eyes. Choose a light, shimmering shade that complements your palette and gently apply it at the inner corners.
With these straightforward techniques, you can create a stunning eye look that enhances your natural beauty. Whether it’s a casual day out or a special occasion, the secret to captivating eyes lies in choosing the right colors and mastering the art of blending.


