


Contouring is a powerful makeup technique used to sculpt the face, enhance features, and create the illusion of defined cheekbones, a slimmer nose, and a more chiseled jawline. With the right contouring techniques and tools, you can transform your appearance and accentuate your natural beauty. Whether you’re a beginner or an experienced makeup enthusiast, mastering the art of contouring can elevate your makeup routine. In this guide, we’ll cover contouring techniques for different face shapes, the best products for contouring, how to highlight and define your features, and common mistakes to avoid.
1. Contouring Techniques for Different Face Shapes
The key to successful contouring is knowing your face shape and using techniques that will enhance your features. Here’s a breakdown of the best contouring methods for various face shapes:
Round Face
For a round face, the goal is to create the illusion of more angular features. You can do this by contouring the sides of the forehead, underneath the cheekbones, and along the jawline. This helps elongate the face and create more definition.
- Forehead: Contour along the top of the forehead to minimize roundness.
- Cheeks: Apply contour beneath the cheekbones, blending upwards toward the ears to add dimension.
- Jawline: Apply contour along the jawline to create a more sculpted look.
Oval Face
An oval face is considered balanced, so contouring is used to subtly enhance the natural symmetry. You’ll want to add a little definition to the cheekbones and jawline without making the face look too sharp.
- Cheeks: Lightly contour the hollows of your cheeks to define the bone structure.
- Jawline: Lightly contour along the jawline to accentuate its shape.
- Forehead: Contour along the temples to create a more balanced, defined look.
Square Face
A square face typically has a strong jawline and broad forehead. The goal with contouring is to soften these angles and create a more rounded appearance.
- Cheeks: Contour underneath the cheekbones to create the illusion of high, lifted cheeks.
- Jawline: Apply contour along the jawline to soften its appearance.
- Forehead: Contour along the temples to round out the square edges.
Heart-Shaped Face
A heart-shaped face has a broad forehead and a narrow chin. To contour, you’ll want to add definition to the chin and jawline while softening the forehead area.
- Cheeks: Apply contour beneath the cheekbones to create a balanced, symmetrical appearance.
- Jawline: Contour the sides of the jawline to add structure and balance the narrowness of the chin.
- Forehead: Lightly contour the forehead, especially around the temples, to reduce the broadness.
Diamond Face
A diamond-shaped face has a narrow forehead and jawline with wide cheekbones. Contouring can help balance the width of the cheeks and elongate the chin.
- Cheeks: Contour along the hollows of the cheeks to define them and create a more balanced look.
- Forehead: Contour the sides of the forehead to narrow the upper part of the face.
- Jawline: Contour along the chin and jawline to create a more sculpted appearance.
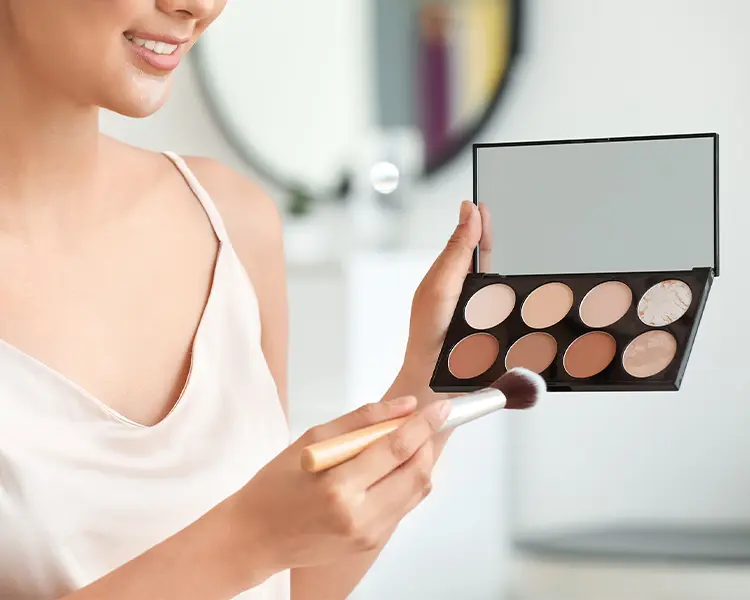
2. Best Products for Contouring
The right contouring products are essential for achieving a smooth, natural finish. Here are some of the best products to use for contouring:
Cream Contour Sticks or Powders
Cream products blend more seamlessly into the skin and create a more natural, dewy finish. They are especially useful for dry skin types. Powder contour products, on the other hand, provide a matte finish and are perfect for those with oily skin.
- Cream Contour: Choose a contour stick or cream that is a few shades darker than your skin tone for a natural shadow effect.
- Powder Contour: A matte bronzing powder in a slightly darker shade than your skin tone will work well to define your features.
Highlighting Products
To complement contouring, you’ll need highlighters to accentuate the high points of your face, such as the cheekbones, nose, and brow bones. Choose a highlighter that has a luminous, glow-from-within finish.
- Cream Highlighter: A cream or liquid highlighter gives a dewy, fresh glow to the skin.
- Powder Highlighter: For a more intense, reflective shine, opt for a powder highlighter with a shimmery finish.
Contouring Brushes or Sponges
To apply contour and highlighter products, it’s crucial to use the right tools. Brushes and makeup sponges are perfect for blending the products into your skin for a seamless finish.
- Contouring Brushes: A tapered contour brush or an angled brush is great for precise contouring, especially along the cheekbones and jawline.
- Blending Sponges: A beauty sponge is ideal for blending both cream and powder products into the skin, ensuring a natural and smooth finish.
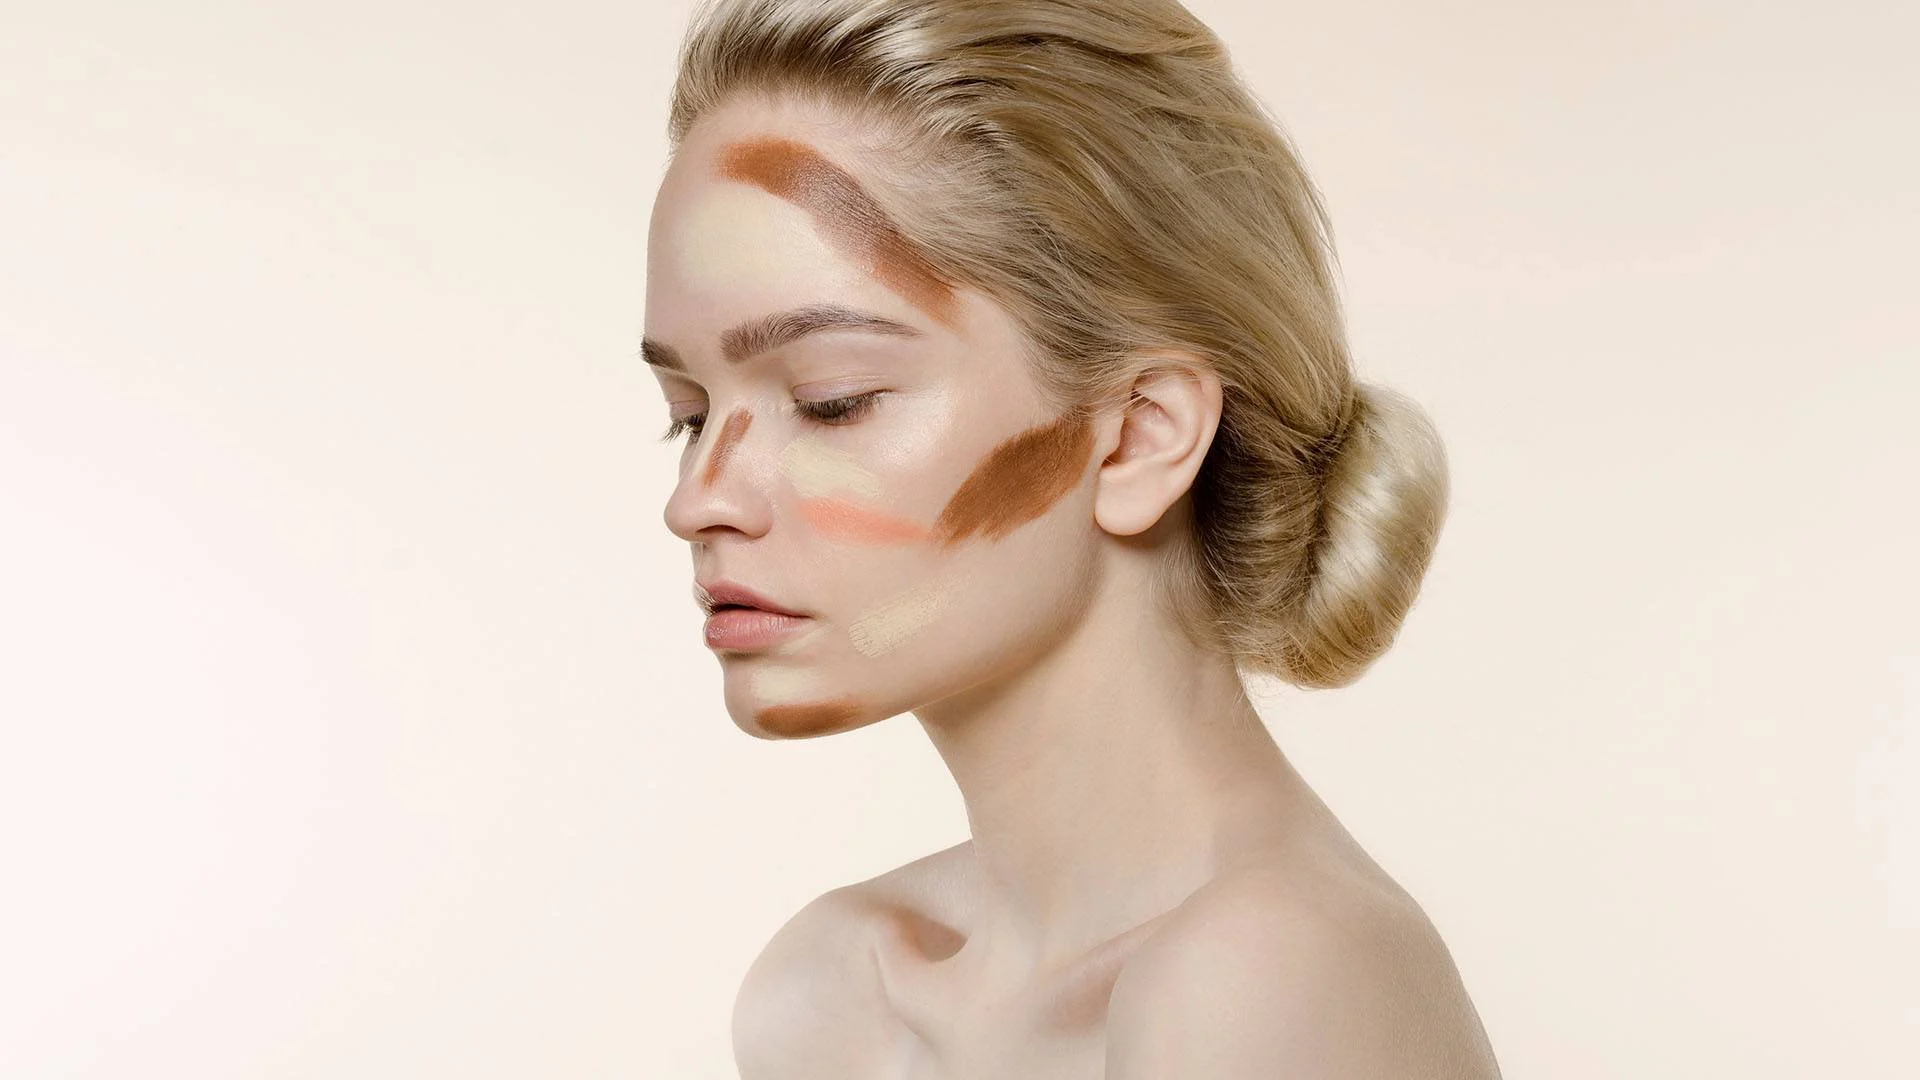
3. How to Highlight and Define Your Features
Highlighting and contouring go hand in hand to enhance your face shape and features. Here’s how to effectively highlight and define your face:
Highlighting
Highlighting brings forward the high points of your face, making them appear more prominent. Here are the areas you should highlight:
- Cheekbones: Apply highlighter to the tops of your cheekbones to create a radiant, lifted look.
- Nose: Apply a small amount of highlighter down the bridge of your nose to create the illusion of a slimmer nose.
- Forehead: Apply a light touch of highlighter in the center of your forehead to bring attention to the center of your face.
- Cupid’s Bow: Highlighting the cupid’s bow accentuates the shape of your lips.
- Chin: A subtle highlight along the chin can balance the look and add dimension.
Contouring
Contouring adds shadows to the face to define features and create depth. Here’s how to contour effectively:
- Cheeks: Apply contour underneath your cheekbones and blend upwards toward the temples for a lifted look.
- Jawline: Contour along the jawline to create a more defined, sculpted appearance.
- Nose: Use a thin contour brush to apply contour along the sides of the nose for a slimmer look.
- Temples and Hairline: Apply contour around the forehead and temples to create a more oval appearance and to minimize a large forehead.
4. Common Mistakes to Avoid
While contouring is a fantastic way to enhance your features, there are some common mistakes that can make your contour look unnatural or harsh. Avoid these errors to get the best results:
1. Choosing the Wrong Shade
One of the most common mistakes is choosing contour shades that are too dark or too light for your skin tone. For a natural look, choose a contour shade that is one to two shades darker than your skin tone and a highlighter that is one to two shades lighter.
2. Over-Contouring
Contouring is meant to enhance your natural features, not mask them. Applying too much contour can make your face look muddy or overly sculpted. Remember, less is more—start with a light hand and build up gradually.
3. Poor Blending
One of the most important aspects of contouring is blending. If you don’t blend your contour and highlight products properly, you’ll end up with harsh lines that look unnatural. Make sure to use a makeup sponge or brush to blend the products seamlessly into your skin.
4. Not Setting Your Makeup
Contouring products, especially cream-based formulas, can shift throughout the day if they aren’t set properly. Always set your contour with a light dusting of translucent powder or setting spray to ensure it stays in place.
5. Forgetting to Highlight the Eyes
Contouring the eyes can take your look to the next level, especially when you apply a little highlighter to the inner corners of your eyes. This will brighten your eyes and make them appear larger.
Conclusion
Contouring is a powerful technique that, when done right, can completely transform your face, enhancing your features and creating a beautifully sculpted look. By understanding your face shape, using the right products, and applying the proper techniques, you can contour like a pro and achieve a stunning, natural finish. Remember, the key to successful contouring is blending and balance—don’t be afraid to experiment and find what works best for you. With these tips in hand, you’re ready to master the art of contouring!


