Every time we watch a makeup artist transform a face into a flawless canvas, it’s easy to get mesmerized by the perfection they create. But achieving perfect skin isn’t just about using expensive products—there’s a careful balance of techniques, tools, and understanding of skin that makes all the difference. In this article, we’ll dive deep into the methods professional makeup artists use to achieve flawless skin. From prepping the skin to setting the final look, we’ll explore each step and give you pro tips on how to recreate it yourself. So, grab your brushes, and let’s begin!
1. Understanding Skin: The First Step to Flawless Makeup
The foundation of flawless skin starts with understanding the skin. Professionals spend a significant amount of time analyzing the skin type and texture before applying any makeup. Is the skin dry, oily, combination, or sensitive? Does the skin have texture, blemishes, or redness? These factors will guide the choice of products and techniques.
Skin Prep: Hydrate and Nourish
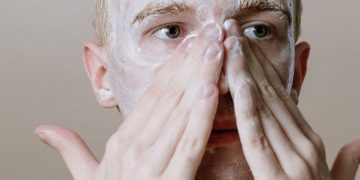
Before applying any makeup, professional makeup artists ensure the skin is thoroughly cleansed, exfoliated, and moisturized. Hydration is key, as it creates a smooth, plump surface for makeup to sit on. A lightweight moisturizer that matches the skin type is often the first step. For dry skin, a richer moisturizer or hydrating serum might be used, while oily skin may benefit from a mattifying or oil-controlling primer.
Pro Tip: Use a hydrating mist throughout the day to refresh the skin and maintain a dewy finish. The more hydrated the skin, the better the makeup will apply and stay put.
2. The Art of Priming: Setting the Stage for Perfection
Primer is one of the most important products in a makeup artist’s kit. It’s the bridge between skincare and makeup. Primers create a smooth base for foundation, blur imperfections, and ensure makeup lasts longer.
Choosing the Right Primer
Not all primers are created equal. There are different types of primers for different skin concerns:
- Pore-Minimizing Primer: Perfect for those with large pores, these primers contain ingredients like silica that fill in and smooth over pores.
- Hydrating Primer: Best for dry skin, these primers contain moisturizing ingredients like glycerin or hyaluronic acid.
- Mattifying Primer: For oily skin, this primer helps control shine throughout the day.
Pro Tip: Always let the primer set for a few minutes before applying foundation to allow it to bond with your skin.
3. The Foundation: Creating the Canvas
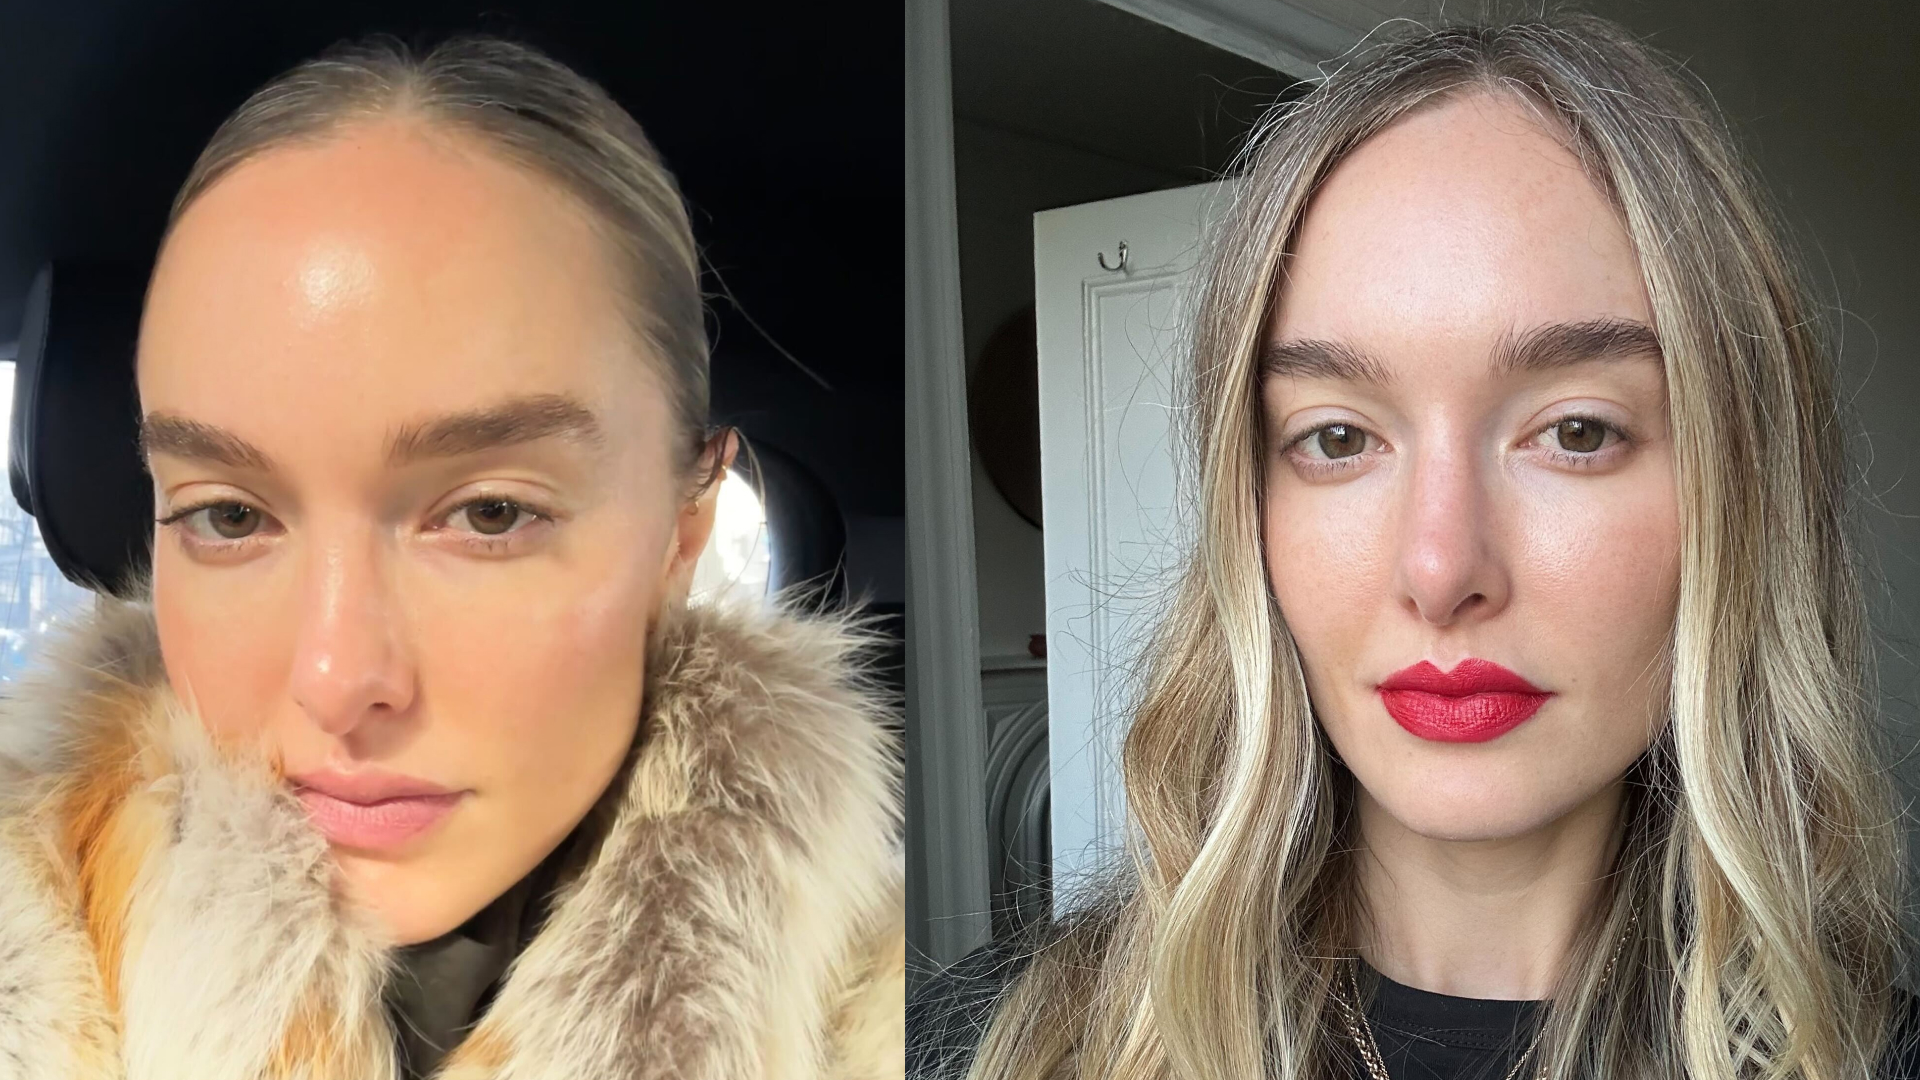
Now comes the most crucial step: foundation. Achieving flawless skin depends largely on selecting the right foundation that matches your skin tone and type. Professional makeup artists often have a wide range of foundations in their kits, each catering to different needs.
Choosing the Right Formula
There are several types of foundation formulas, each offering a different finish:
- Liquid Foundation: The most versatile option, offering everything from light to full coverage.
- Cream Foundation: Provides more coverage and is excellent for dry or mature skin.
- Powder Foundation: Ideal for oily skin, providing a matte finish and a lightweight feel.
- Stick Foundation: Offers full coverage and is great for on-the-go touch-ups.
Pro Tip: Mix foundations to create a custom shade that perfectly matches your skin tone. A professional will often blend a light and dark shade to contour the face without using additional products.
Application Techniques
Application technique plays a huge role in achieving a flawless finish. Professional makeup artists tend to use tools that allow for even distribution and buildable coverage:
- Brushes: A dense foundation brush gives fuller coverage, while a stippling brush creates a more natural, airbrushed finish.
- Beauty Blenders: Sponges like the Beauty Blender create a dewy, seamless finish and work best when slightly damp.
- Fingers: Sometimes, makeup artists use their fingers to warm up the product and blend it into the skin for a more natural look.
Pro Tip: Apply foundation in thin layers, building up coverage gradually. It’s easier to add more than to remove excess.
4. Concealing Imperfections: Brightening and Correcting
Even flawless skin isn’t perfect. Dark circles, blemishes, and redness can still show through, so concealer becomes the secret weapon for hiding these imperfections. Professional makeup artists use concealer not only to cover blemishes but also to brighten areas like the under-eye region.
Color Correction
Before applying a regular concealer, professional makeup artists often use color-correcting concealers to neutralize certain hues:
- Peach/Orange: Corrects dark circles or blue tones under the eyes.
- Green: Neutralizes redness from acne or rosacea.
- Lavender/Purple: Brightens dull or sallow skin.
Application Method
To apply concealer, makeup artists often use a small, precise brush or their fingertips to tap the product into the skin. They apply it in small amounts, focusing on areas that need the most coverage, and blend out the edges for a seamless finish.
Pro Tip: Use a concealer that’s one or two shades lighter than your skin tone for brightening, but make sure it matches your undertone for a natural finish.
5. Setting: Locking It All In
A major difference between everyday makeup and professional makeup is the amount of time and attention given to setting products. Setting makeup helps to ensure that everything stays in place, from the foundation to the concealer and blush.
Setting Powders vs. Setting Sprays
- Setting Powder: Used to mattify the face, particularly around the T-zone. It’s essential for controlling oil and preventing foundation from settling into fine lines. Translucent setting powders are a favorite because they provide a weightless, invisible finish.
- Setting Spray: These sprays lock makeup in place and often give the face a dewy or satin finish. They help melt all the layers of makeup together, reducing any powdery finish and giving the skin a more natural look.
Pro Tip: Use a light hand when applying setting powder. Too much powder can make the makeup look cakey or heavy, which defeats the purpose of achieving flawless skin.
6. Contouring and Highlighting: Sculpting the Face
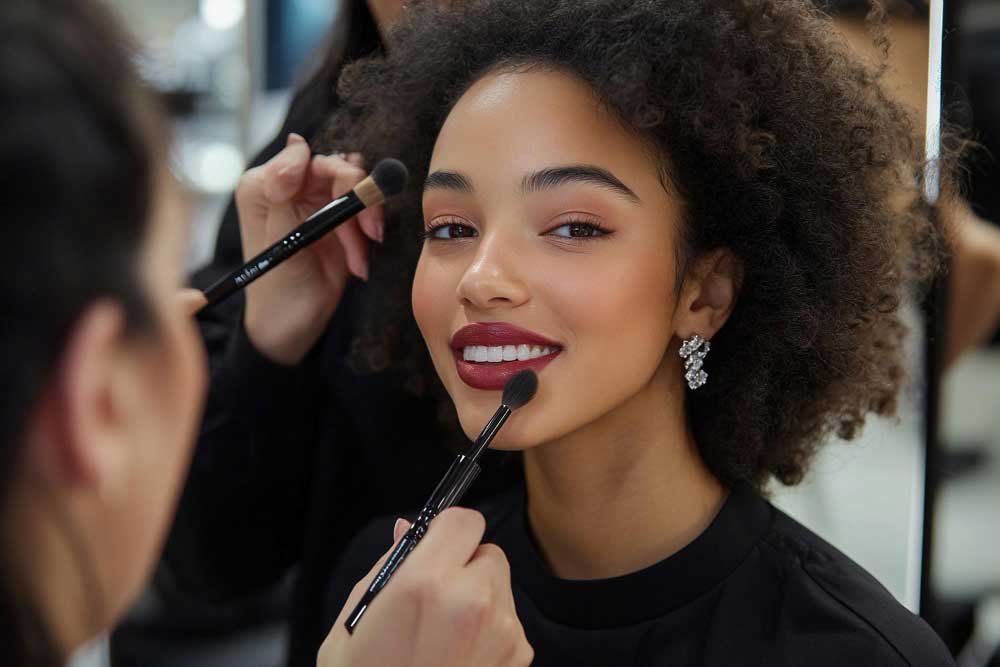
Contouring and highlighting aren’t about drastic changes; they’re about enhancing the natural structure of the face. Professional makeup artists use contouring to create shadows, and highlighting to accentuate the high points of the face. The goal is to subtly sculpt the face for an enhanced yet natural look.
Contouring Tips
Contouring should be applied in the hollows of the cheeks, along the jawline, and on the sides of the nose. Makeup artists often use a cream or stick contour for a more natural, skin-like finish.
Highlighting Tips
Highlighting is applied to the high points of the face—on the tops of the cheekbones, the bridge of the nose, and the cupid’s bow. A creamy or liquid highlighter blends beautifully with the skin, creating a radiant, lit-from-within glow.
Pro Tip: Blend, blend, blend! The key to contouring and highlighting is seamless blending, so there are no harsh lines.
7. Finishing Touches: Adding Color and Glow
Once the skin is perfected, it’s time to add some color back into the face with blush, bronzer, and highlighter. These finishing touches give dimension and life to the skin.
Blush
Blush adds a natural flush to the cheeks, bringing a youthful vibrance to the face. Professional makeup artists often apply blush to the apples of the cheeks, blending upwards towards the temples for a lifting effect.
Bronzer
Bronzer warms up the complexion and adds depth. Makeup artists usually apply bronzer to the areas where the sun would naturally hit the face: the forehead, cheekbones, and jawline.
Highlighter
As the final touch, highlighter gives the skin a luminous, healthy glow. Professional makeup artists know exactly where to apply it—on the high points of the face, but not in excess. Too much highlighter can make the skin look oily rather than radiant.
Pro Tip: For a natural finish, apply a cream or liquid blush and bronzer. These products tend to blend better with the skin and look more seamless than powders.
Conclusion: Flawless Skin Is an Art and a Science
Achieving flawless skin doesn’t happen by accident—it requires a keen understanding of skin, a strategic approach to makeup application, and the right tools and techniques. Professional makeup artists spend years honing their skills to create the perfect canvas. But with the right products, techniques, and a little practice, anyone can achieve flawless skin at home.
Whether you’re prepping for a special occasion or just want to perfect your everyday look, follow these pro tips and techniques to create a smooth, glowing complexion that looks natural yet polished.


