


The quest for a flawless, skin-like foundation application is the holy grail of makeup artistry. It’s the step that can either create a perfect, polished canvas for the rest of your look or result in a cakey, mask-like finish that detracts from your natural beauty. For beginners, the world of foundation can be overwhelming, filled with countless product types, application tools, and potential pitfalls. The secret to mastery lies not in finding one “perfect” product, but in understanding the fundamental principles of shade matching, skin preparation, tool selection, and technique. This comprehensive guide demystifies the process, breaking down the art and science of foundation application to help you achieve a seamless, natural-looking complexion every single time.
1. The Perfect Match: The Science and Strategy of Shade Matching
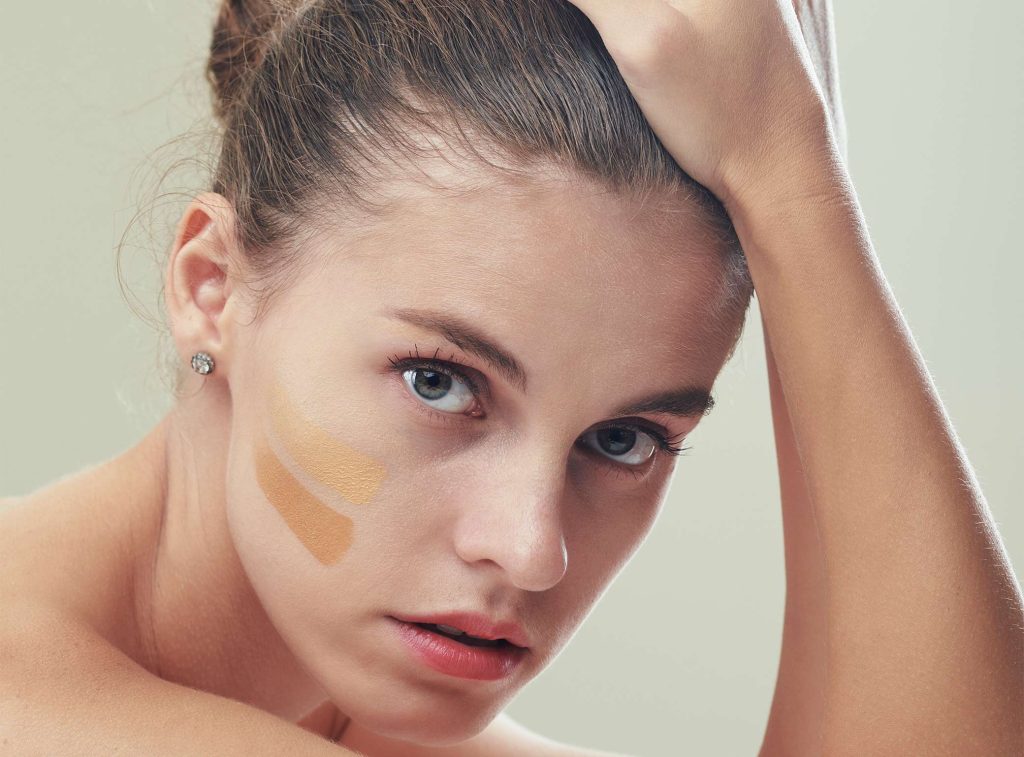
A flawless application is impossible if the shade is wrong. A mismatched foundation is the most common and glaring mistake, creating a tell-tale line at the jaw. The goal is to find a shade that disappears into your skin.
Understand Your Undertone:
This is the most critical factor. Your undertone is the subtle, permanent color beneath the surface of your skin. There are three main categories:
- Cool: Your skin has hints of pink, red, or blue. Veins on your wrist appear blue. Silver jewelry typically looks more flattering.
- Warm: Your skin has hints of yellow, peach, or golden. Veins appear greenish. Gold jewelry usually complements your skin better.
- Neutral: A balance of both warm and cool tones. Both silver and gold jewelry tend to look good.
How to Swatch Correctly:
Forget swatching on your hand or wrist, which is often a different color than your face.
- Identify Your Matching Zone: The side of your jawline and the center of your cheek are the best areas. Your goal is to match your face to your neck and chest to avoid a stark contrast.
- Test Multiple Shades: Select 2-3 shades that look closest to your skin tone and swatch them in vertical stripes down your jawline onto your neck.
- Check in Natural Light: The harsh, artificial lighting in stores can be deceptive. The true test is how the foundation looks in daylight. Step outside or near a window to see which shade blends away seamlessly. The right shade will virtually disappear.
Seasonal Adjusting: Your skin tone can change with the seasons. You may need a slightly darker shade in the summer and a lighter one in the winter. Mixing two shades is a pro technique to create your perfect match year-round.
2. The Tool Kit: Mastering Application Techniques for Every Finish
The tool you use to apply foundation is just as important as the foundation itself, as it directly influences the coverage, finish, and overall effect.
Fingers:
- Best For: Liquid and cream products, a natural, skin-like finish.
- Technique: Use your ring finger (it applies the least pressure) and press or stipple the product into the skin. The heat from your fingers helps to warm and melt the product for a seamless blend.
- Pros: Free, intuitive, provides light to medium coverage.
- Cons: Can be unhygienic, may not provide an even, full coverage.
Beauty Sponge (Damp):
- Best For: Liquid and serum foundations for a dewy, airbrushed finish.
- Technique: Run the sponge under water and squeeze out all excess moisture until it’s damp. Bounce or “stipple” the sponge across your face. Never drag or wipe, as this will remove product and can cause streaking.
- Pros: Creates a flawless, diffused finish; sheers out product; perfect for blending.
- Cons: Can absorb and waste product; needs to be cleaned frequently.
Foundation Brushes:
- Flat/Kabuki Brush: Best for full coverage. Use buffing, circular motions to work the product into the skin.
- Flat-Top Brush: Excellent for liquid and cream foundations. Use a stippling motion for a streak-free, medium to full coverage finish.
- Densely-Packed Brush: Ideal for powder foundations. Use circular motions to press the powder into the skin for a long-wearing finish.
- Pros: Hygienic, provides even application, offers more coverage control.
- Cons: Can leave streak marks if not used correctly; requires regular cleaning.
3. The Product Spectrum: Choosing the Right Foundation Formula for Your Skin
Foundation is not one-size-fits-all. The formula you choose should align with your skin type and the finish you desire.
Skin Type Guide:
- Oily Skin: Look for matte or satin-finish liquids, powder foundations, or oil-free formulations. These control shine and are often long-wearing.
- Dry Skin: Opt for liquid or cream foundations with a dewy or luminous finish. Look for hydrating ingredients like hyaluronic acid or glycerin. Avoid powders, which can cling to dry patches.
- Combination Skin: You can use different formulas in different zones (e.g., a matte foundation in the T-zone) or choose a natural/satin finish liquid that balances both needs.
- Acne-Prone/Sensitive Skin: Seek out non-comedogenic (won’t clog pores) and fragrance-free formulas. Mineral-based powder foundations are often a gentle option.
Coverage Levels:
- Sheer/Tinted Moisturizer: Evens out skin tone with a wash of color; feels like skincare.
- Light Coverage: Covers minor redness and imperfections while letting freckles and skin texture show through.
- Medium Coverage: Covers most redness, slight discoloration, and blemishes. The most versatile for everyday wear.
- Full Coverage: Covers everything, including scars, hyperpigmentation, and tattoos. Best for special occasions or photography.
4. Pitfalls to Perfection: Avoiding Common Foundation Mistakes
Even with the right shade and product, technique errors can ruin the final look.
Mistake #1: Skipping Skincare Prep
Foundation will only look as good as the skin underneath.
- The Fix: Always start with a clean, moisturized face. Use a primer suited to your skin type. A hydrating primer for dry skin, a mattifying primer for oily skin, and a pore-filling primer for textured skin. Primer creates a smooth canvas and helps foundation last longer.
Mistake #2: Applying Too Much Product
The goal is to even out your skin tone, not to paint a new face. Starting with too much product is the primary cause of a cakey finish.
- The Fix: Start with less. Apply a small amount (a pea-sized drop for liquid) to the center of your face—forehead, nose, chin, and cheeks—and blend outwards. You can always build coverage where you need it.
Mistake #3: Neglecting the Neck and Ears
A sharp line at the jaw is the ultimate giveaway of a makeup novice.
- The Fix: Always blend your foundation down your jawline and onto your neck. If you’re wearing your hair up, lightly blend onto your earlobes.
Mistake #4: Using a Dirty Sponge or Brush
Old makeup, oil, and bacteria build up on tools, leading to breakouts and a patchy application.
- The Fix: Clean your brushes and sponges at least once a week with a gentle soap or dedicated brush cleaner.
Mistake #5: Setting Makeup Incorrectly
Not setting makeup can lead to creasing and fading, but over-powdering creates a dry, cakey mask.
- The Fix: Use a light, translucent powder only in areas that tend to get oily or crease, like the T-zone and under the eyes. Use a fluffy brush and a light hand. A setting spray can then be used to melt all the layers together for a more skin-like finish.
Achieving a flawless foundation application is a skill that anyone can learn. It requires understanding your skin’s unique needs, carefully selecting your tools and products, and applying them with a mindful, light-handed technique. By mastering the art of shade matching, embracing the right tool for your desired finish, choosing a formula that works with your skin type, and avoiding common application errors, you can move beyond a “makeup mask” to a perfected complexion that looks and feels like your own beautiful skin.


