


The relationship with makeup inevitably evolves as our skin matures. The techniques and products that once delivered a flawless, youthful finish can, in later years, begin to betray us—settling into fine lines, emphasizing texture, and creating a flat, heavy appearance that can inadvertently add years rather than subtract them. This frustrating experience leads many to abandon makeup altogether. However, the issue is rarely makeup itself, but the application philosophy. Mature skin requires a shift in strategy: from a focus on full coverage and matte perfection to an emphasis on hydration, light reflection, and soft definition. The goal is no longer to mask, but to enhance; not to paint a new canvas, but to illuminate the existing one. This guide will outline a transformative approach to makeup for mature skin, focusing on techniques that lift, brighten, and restore a vibrant, youthful-looking glow by working in harmony with your skin’s changing texture.
The Non-Negotiable First Step: Hydrating Prep for a Plump Canvas
Applying makeup to dry, unprepared mature skin is like painting on a cracked, thirsty surface; it will always accentuate every line and flaw. The single most important step for a flawless application is creating a hydrated, smooth, and supple base.
- Gentle Chemical Exfoliation: Regular, gentle exfoliation is key to removing the buildup of dead skin cells that can create a dull, rough texture. Avoid harsh scrubs and opt for a weekly AHA (like lactic acid) or a PHA-based toner. These work by dissolving the bonds between dead cells, revealing smoother, more radiant skin underneath without the abrasive action that can cause irritation.
- The Hydration Sandwich Method:
- Layer 1: A Hyaluronic Acid Serum or Essence. On damp skin, apply a hydrating toner or serum. Hyaluronic acid can hold up to 1000 times its weight in water, providing a deep reservoir of hydration that plumps the skin from within, temporarily smoothing the appearance of fine lines.
- Layer 2: A Rich, Nourishing Moisturizer. Follow with a moisturizer containing ceramides, peptides, or squalane. These ingredients support the skin’s natural barrier, locking in the hydration and providing a smooth, emollient surface for makeup.
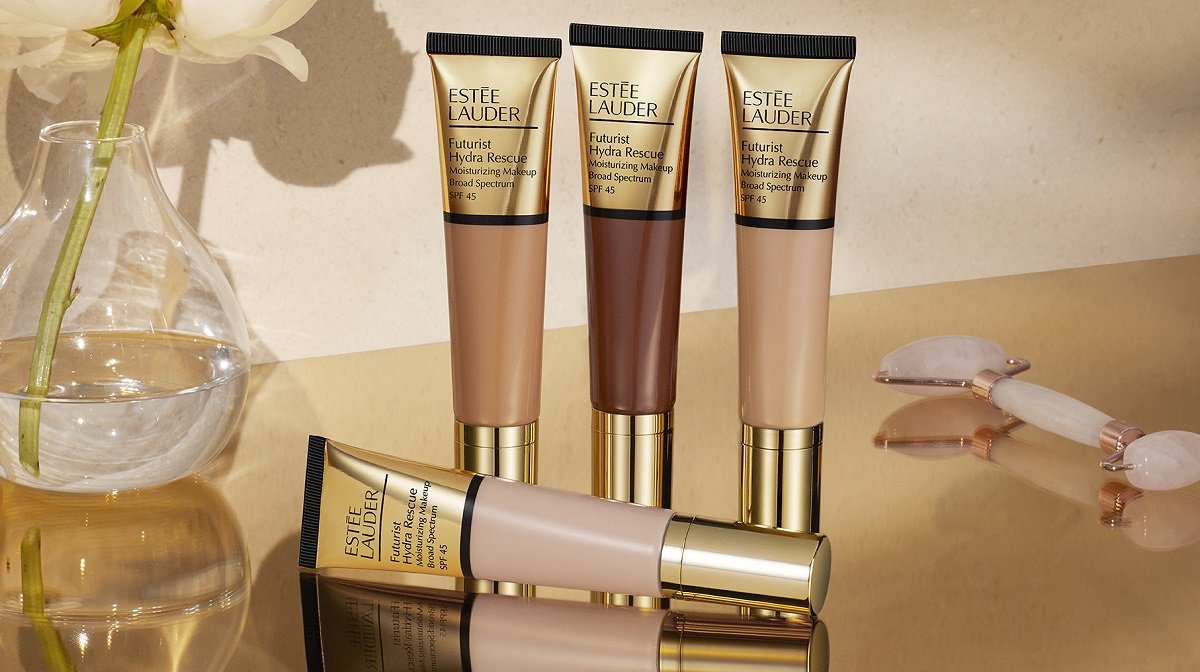
- Layer 3: A Luminous Primer. Finish your prep with a hydrating, luminous primer. Look for descriptors like “illuminating,” “dewy,” or “hydrating.” These primers typically contain light-reflecting particles and silicones that fill in larger lines and wrinkles, creating a blurred, smooth surface for foundation to glide over. Allow each layer to fully absorb before moving to the next.
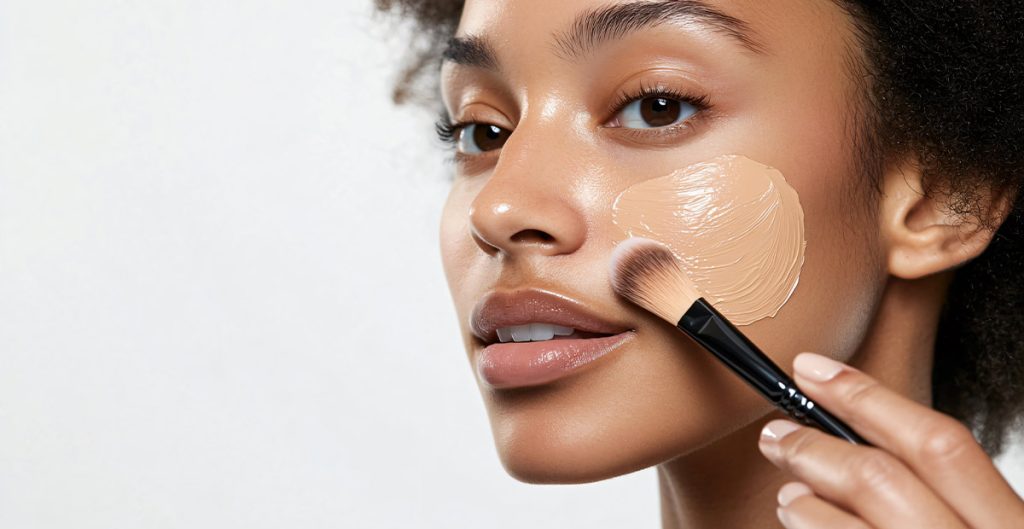
Strategic Concealer Placement: Brightening Without Weight
Heavy, thick concealer piled under the eyes is a primary culprit for a aged, tired look. The strategy for mature skin is about strategic brightening, not blanketing.
- Color Correct with Peach: Before concealer, neutralize the blue-purple tones of dark circles with a creamy, peach-colored corrector. This means you’ll need far less skin-toned concealer to achieve coverage, thereby reducing the risk of creasing and cakeiness.
- The Upward-Lifting Triangle Technique: Forget drawing half-moons under your eyes. This technique drags the face down.
- Using a lightweight, hydrating concealer (one shade lighter than your foundation), draw a small, inverted triangle with the base just under your eye and the point reaching towards your cheek.
- The goal is to blend the edges upwards and outwards, towards your temples. This technique harnesses light to create an optical illusion of lift, brightening the entire center of the face and making the eyes appear more open and alert.
- The Power of the Beauty Sponge: Use a damp beauty sponge to gently press and pat the concealer into place. Avoid swiping or dragging, which can tug on delicate skin and move the product into lines. The pressing motion seamlessly melts the product into the skin for a natural finish.
The Art of Avoidance: Techniques to Prevent Creasing
Creasing is the result of excess product settling into the skin’s natural folds. The solution is minimalist application and strategic setting.
- The “Less is More” Doctrine: Use the absolute minimum amount of product necessary. It is always easier to add than to subtract. Begin with a thin layer of foundation and concealer and only build in areas that truly need it.
- The “Baking-Free” Zone: The traditional technique of “baking” with a thick layer of powder is disastrous for mature skin, as it creates a dry, cakey texture that emphasizes every line. Instead, use a minimal powder strategy.
- After applying your base and concealer, take a small, fluffy brush and a finely-milled, translucent hydrating powder.
- Only press a tiny amount of powder into the areas that are most prone to creasing: the inner and outer corners of the under-eyes, and the smile lines (nasolabial folds).
- Immediately brush away any excess. The goal is to set only the most problematic areas, leaving the rest of the skin with its natural, dewy luminosity.
- Hydrating Setting Spray is Your Best Friend: After makeup application, lock everything in place with several spritzes of a hydrating setting spray. This melds the layers of liquid and powder together, eliminates any powdery finish, and re-introduces moisture to the skin, ensuring the makeup moves with your face rather than cracking on top of it.
Soft Contouring: Creating Definition Without Harsh Lines
The sharp, heavily chiseled contour of social media trends does not flatter mature skin, as it can look harsh and unnatural. The goal is soft definition that mimics natural shadows.
- Cream is King: Ditch the powder contour kits. A cream product in a cool-toned, matte brown shade (two shades darker than your foundation) is infinitely more blendable and looks like a natural shadow on the skin.
- The “3” and “E” Technique:
- For the face, imagine drawing a soft, wide “3” on each side. Start at the temple, curve in slightly below the cheekbone, and curve back out along the jawline.
- For the forehead, imagine drawing a soft “E” along the hairline to minimize a larger forehead or create shape.
- The key is to place the product higher than you might think. As skin matures, it can lose elasticity and descend. Placing your contour shade just below the cheekbone can drag the face down. Instead, focus on the hollows of the temple and the top of the cheekbone to create a lifted effect.
- Blend, Then Blend Again: Use a dense, synthetic stippling brush or a damp beauty sponge to stipple and press the cream product into the skin. There should be no visible lines, only a soft, natural-looking shadow that adds structure and depth to the face.
Conclusion: A New Philosophy for a Radiant You
Makeup for mature skin is not about fighting the natural aging process, but about embracing and enhancing your features with wisdom and technique. It requires a departure from heavy, covering products and a move towards luminous, hydrating ones. By prioritizing a deeply moisturized canvas, applying concealer with a lifting strategy, using powder with a light touch to prevent creasing, and sculpting with soft, blendable creams, you can achieve a finish that is anything but “mature-looking.” This approach results in a face that looks refreshed, brightened, and lifted—a face that reflects vitality and confidence. It proves that the most beautiful makeup at any age is that which makes you look like the most radiant version of yourself.


